5 Reasons Your Torque Wrench Needs Regular Calibration
Whether you’re using a torque wrench on the job or in a home garage, accuracy matters. The entire purpose of a torque wrench is to apply a precise...
2 min read

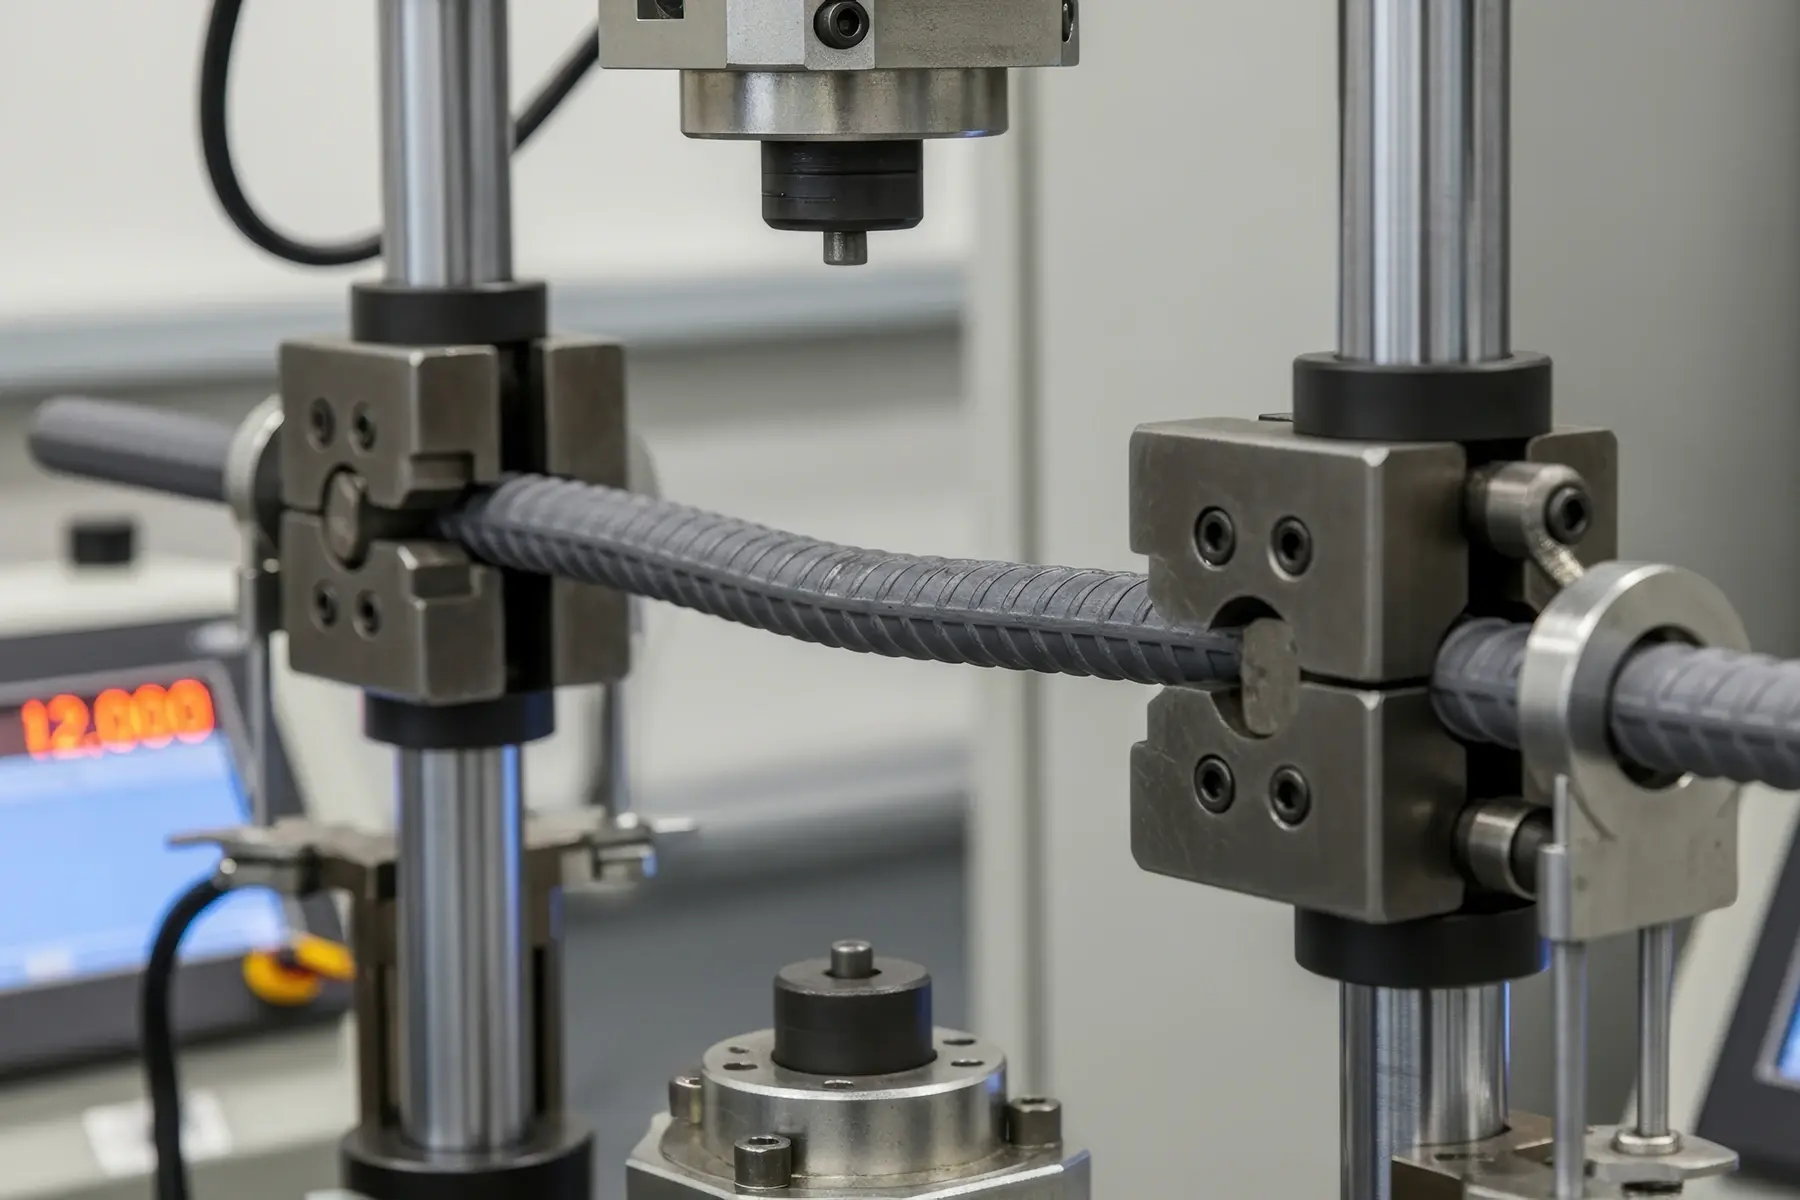
Calibrating a Universal Testing Machine (UTM) involves far more than scheduling a service call. Multiple technical factors must be evaluated before calibration even begins—and overlooking any of them can lead to delays, rework, or unnecessary production downtime.
Key considerations include:
Universal Testing Machines are foundational tools across a wide range of industries. Commonly referred to as tensile testers or compression machines, UTMs are used to evaluate material behavior under controlled loading conditions.
While they are traditionally associated with tensile strength, elongation, bending, and compression testing, UTMs support far more diverse applications, including:
Most quality management systems require periodic calibration of instruments that measure critical product parameters. Calibration ensures that measurements continue to meet manufacturer specifications and remain traceable to a recognized national standard, such as the National Institute of Standards and Technology (NIST).
Material properties are typically validated during the design phase, but they can evolve as processes are refined or scaled. A properly calibrated UTM ensures that material performance in production remains within the tolerance limits established during design—and that all measurements are traceable, defensible, and repeatable.
To ensure consistency and repeatability across laboratories and technicians, calibration procedures are governed by established industry standards. ASTM International (formerly the American Society for Testing and Materials) is one of the primary organizations responsible for developing these standards, which are widely adopted across manufacturing and testing environments.
PCS develops and performs all UTM calibrations in accordance with applicable ASTM standards, including:
Together, these standards ensure that every aspect of UTM performance is evaluated against a known, traceable reference.
Measuring the minute dimensional changes caused by tensile or compressive forces presents one of the greatest challenges in materials testing. Establishing reliable statistical norms for extension and contraction requires both high-precision instrumentation and repeatable calibration processes.
Extensometers are designed specifically to measure these small physical responses with extreme accuracy. At PCS, we utilize Epsilon extensometer calibrators, capable of resolving 80 nm (0.8 microinches) over a 50 mm (2-inch) range. These systems meet or exceed the requirements of ISO 9513 and ASTM E83 Class B-1, delivering exceptional accuracy and repeatability across the operating range of most UTMs.
While many calibration laboratories possess the technical expertise to calibrate a Universal Testing Machine, technical competence alone doesn’t solve the real-world problem faced by engineers and production managers: lost time.
There is never an ideal moment to take critical equipment offline. That’s why minimizing calibration-related downtime should be a priority—not an afterthought. PCS is focused on delivering some of the fastest average turnaround times in the industry, supported by data and driven by process efficiency.
When your Universal Testing Machine—or any other critical instrument—needs calibration, choose a partner that values both precision and productivity. Contact PCS for a quote and experience just how quickly accurate calibration can be delivered.

Whether you’re using a torque wrench on the job or in a home garage, accuracy matters. The entire purpose of a torque wrench is to apply a precise...

1 min read
PCS offers an expansive range of on-site calibration services throughout Tennessee and across the surrounding region, helping customers maintain...

Precision doesn’t happen by accident. Calibration plays a critical role in ensuring equipment performs accurately, consistently, and...